How to Code From iPad Without Losing the Development Loop
Coding from iPad works best when the task has a clear boundary and the tool keeps your project context together. Instead of trying to mimic a full desktop, use the iPad for the work that benefits from mobility: review, diagnosis, focused edits and follow-up changes on a remote project.
Set up the workspace around a real project
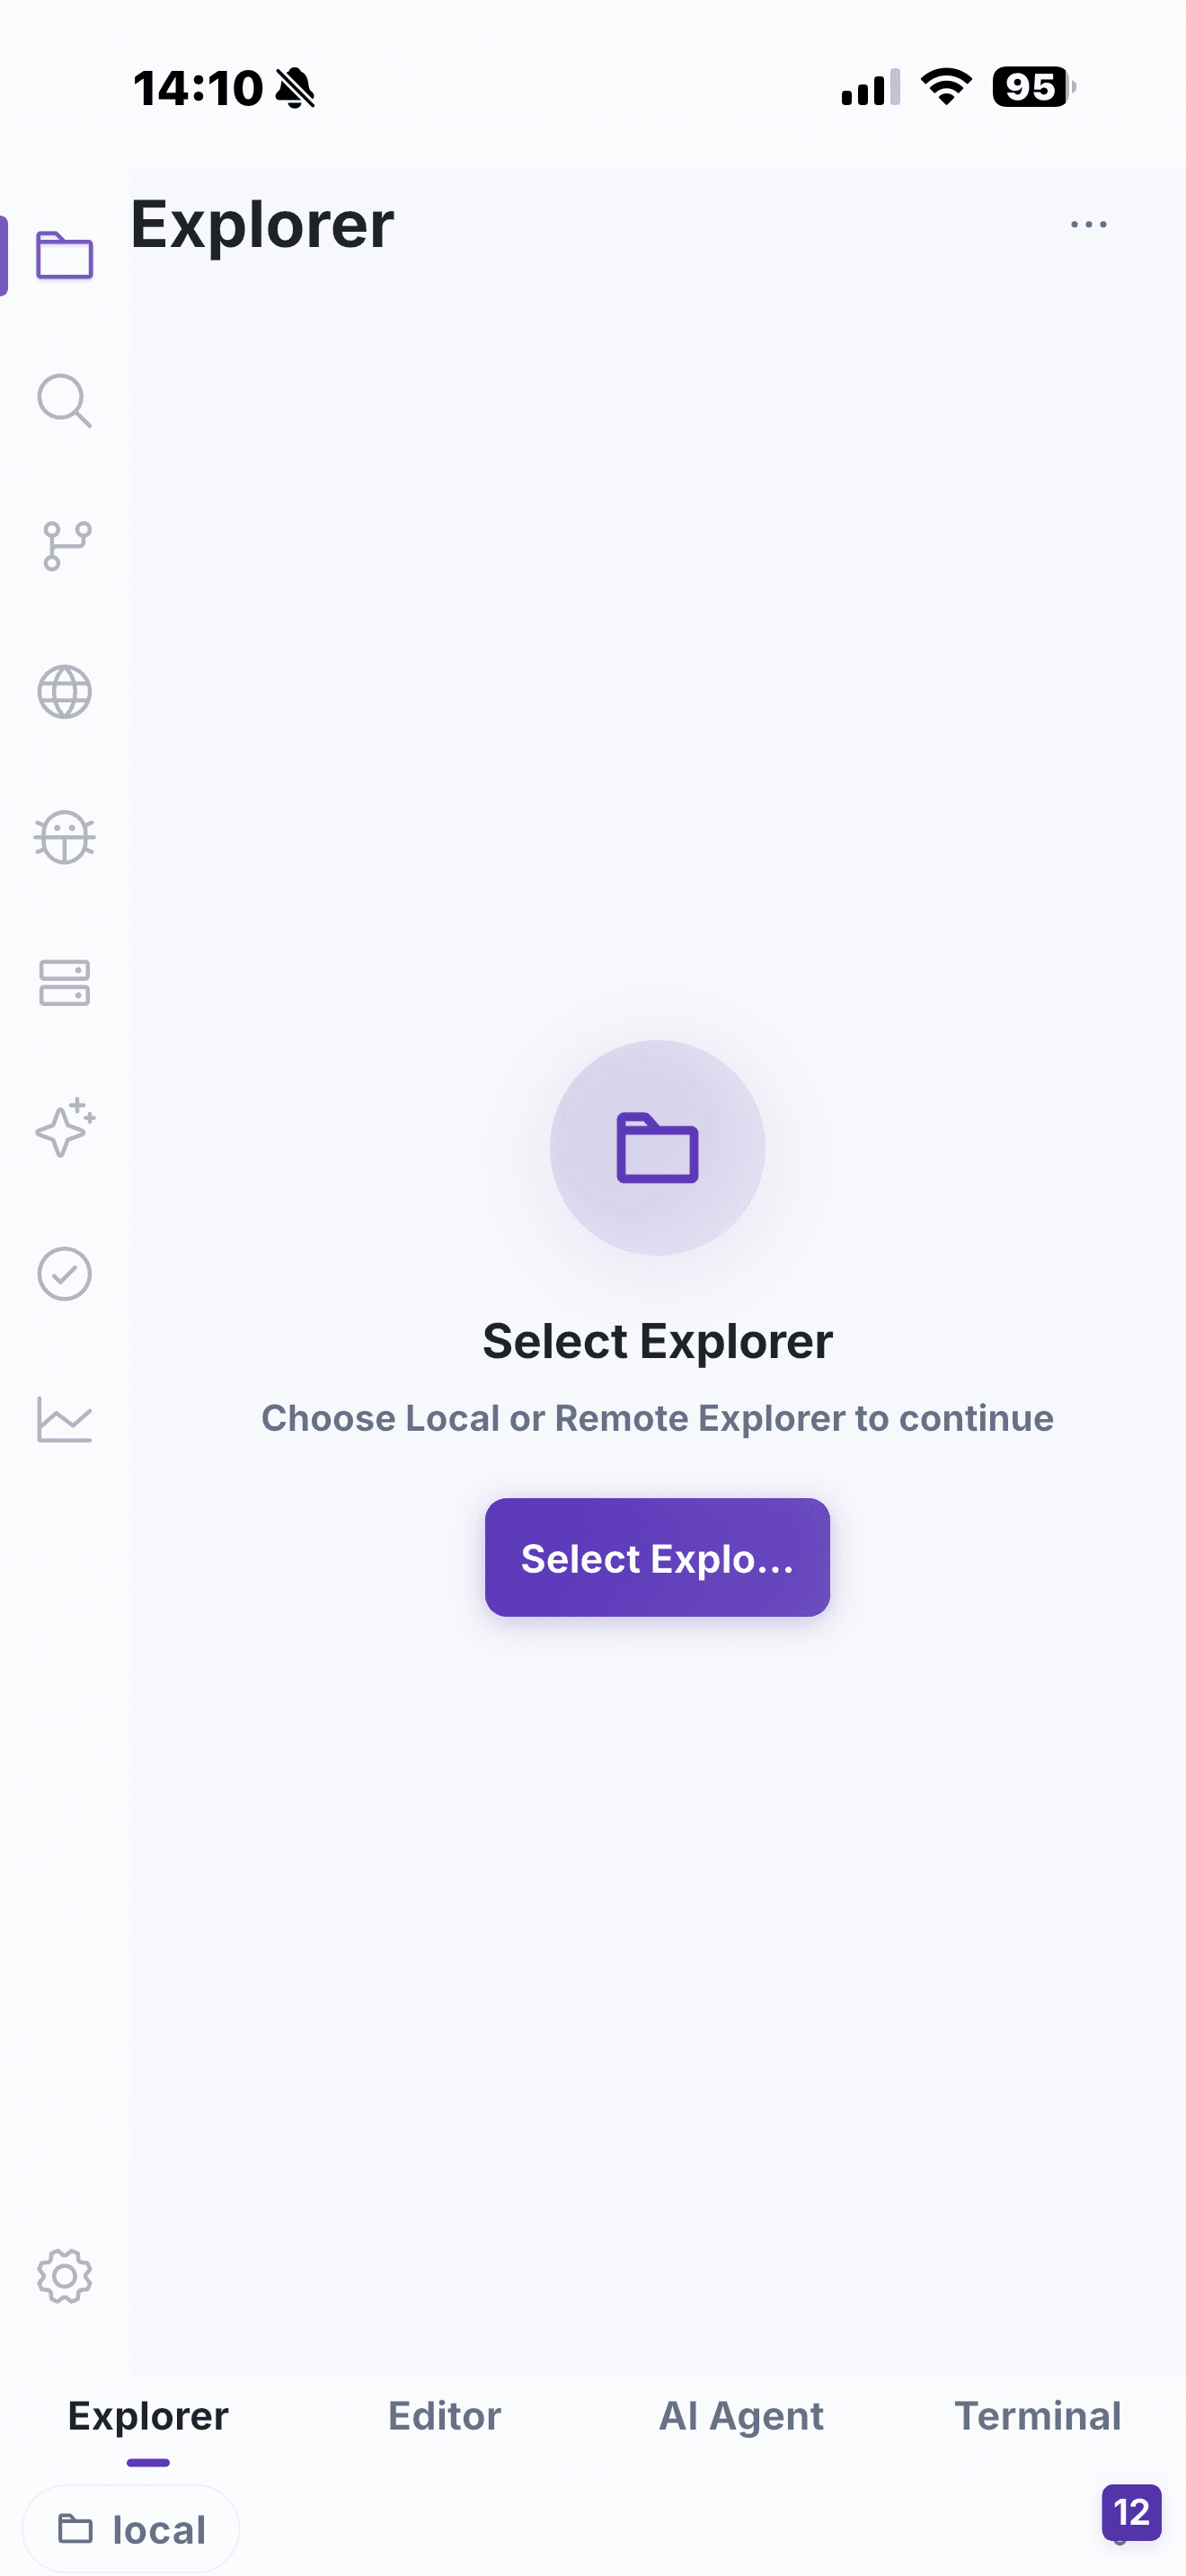
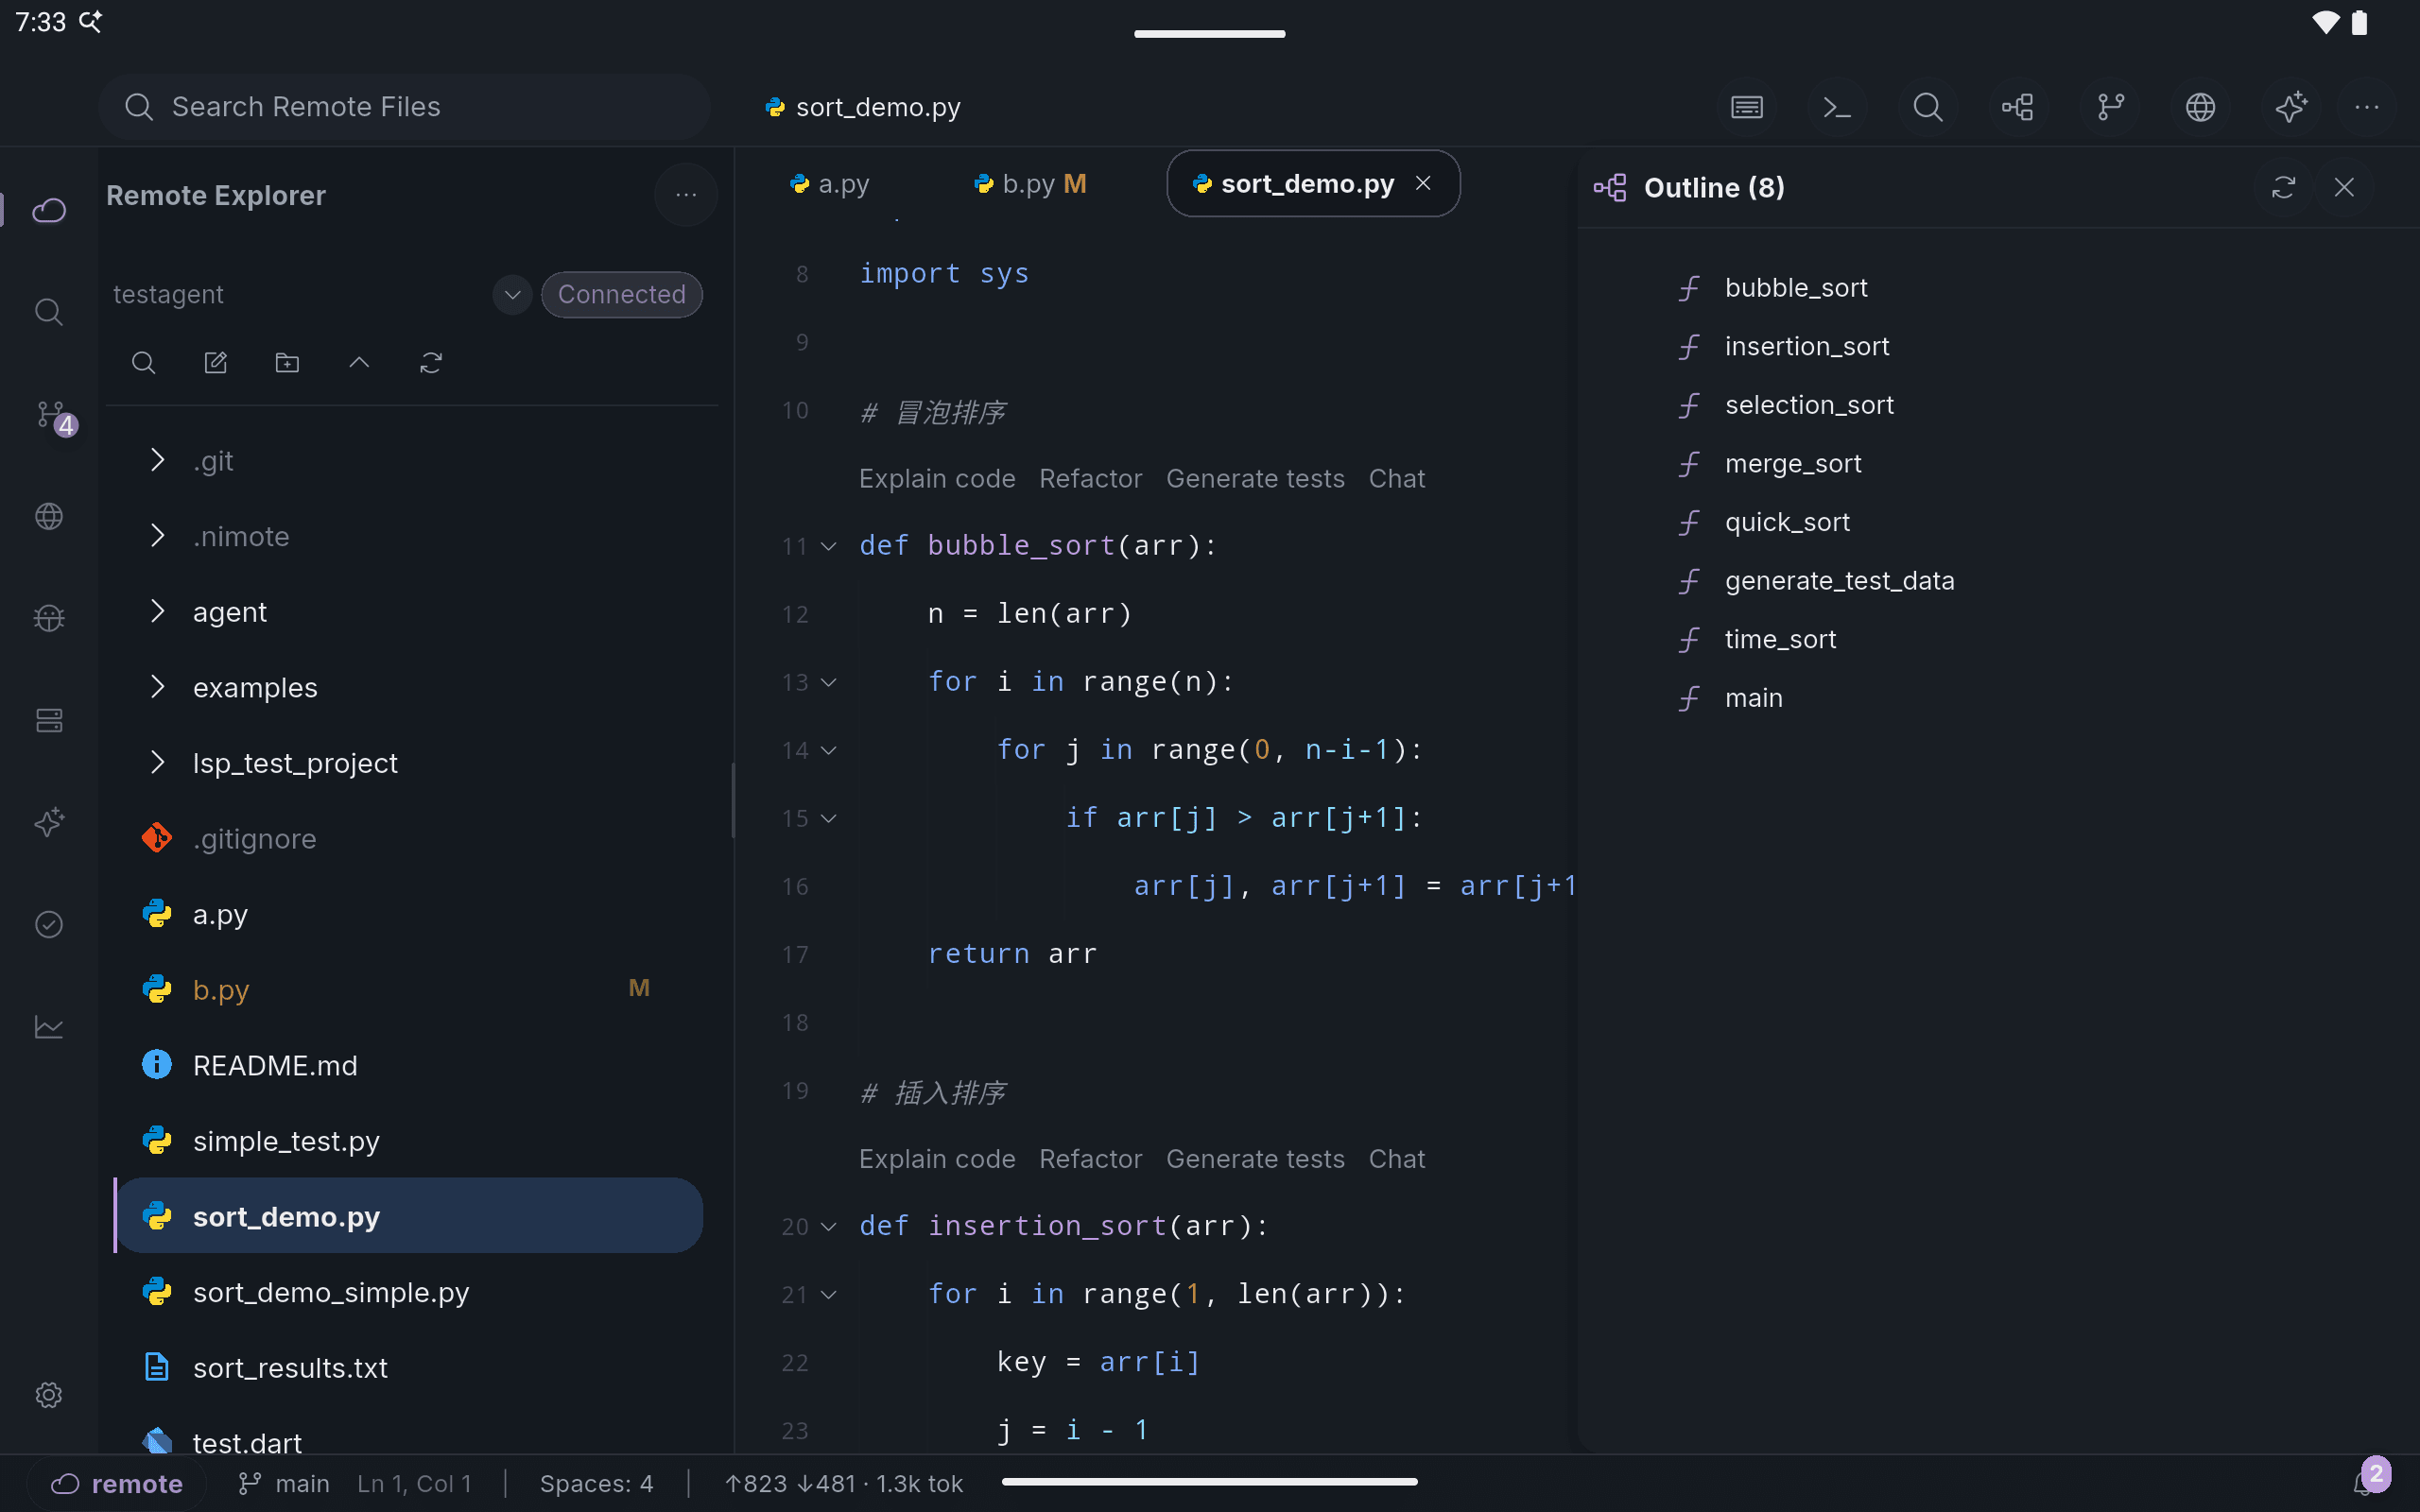
Start with the project location. If the code is on a remote development host, configure an SSH Workspace and choose the repository root. Use Explorer to navigate the project, then open the relevant files in editor tabs. This is more reliable than treating the iPad as a place to paste isolated snippets.
Follow a five-step iPad loop
- Connect and inspect. Read the relevant code, configuration and recent output before changing anything.
- Make a narrow edit. Keep the scope small enough to understand on the device.
- Run a check. Use Terminal for a test, linter, log query or service check that matches the change.
- Review the diff. Use Source Control to see what actually changed.
- Commit or hand off. Follow your usual team process after the change is verified.
Make the hardware work for you
A keyboard is helpful for terminal-heavy work, but it is not required for a short inspection or edit. The bigger iPad display is especially useful when moving between the project tree, source and terminal output. Use focused panels rather than trying to keep every tool visible at once.
Where AI helps on iPad
Use AI for explanation, a debugging plan or a proposed small change—not as a replacement for the verification loop. In NimoteCode, AI Chat and Agent sit next to the repository, terminal and Git views, so you can check a suggestion against the real workspace.
Explore the iPad-ready mobile development workspace.
Related: iPad Coding · Mobile IDE · Remote Hotfix from Mobile